Descripción
Descripción
Ensure Perfect Planarity and Weld Repeatability
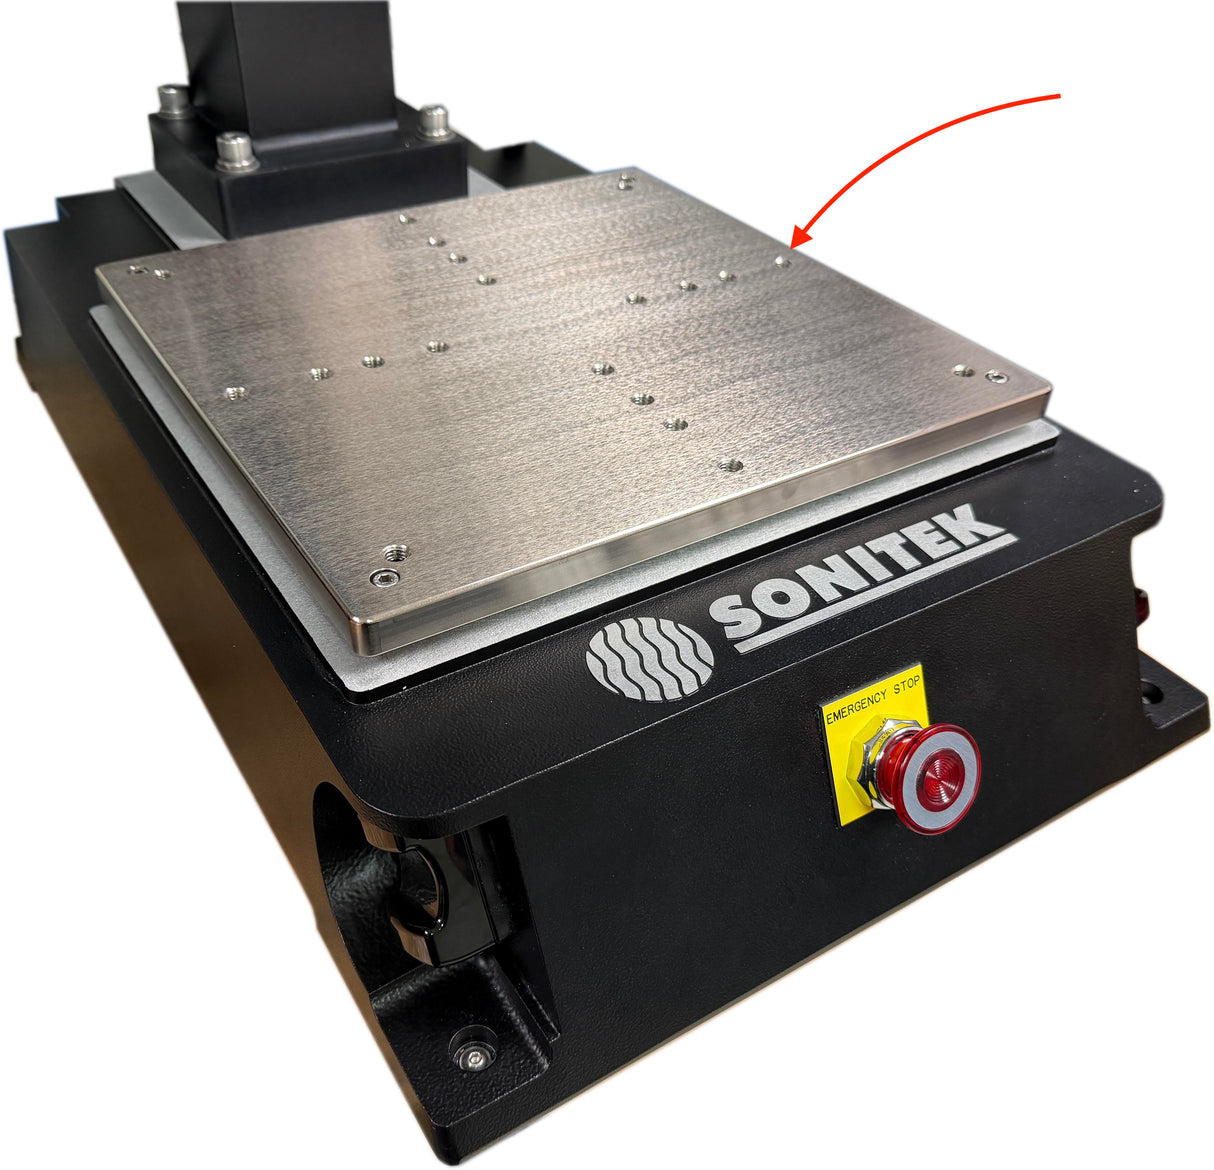
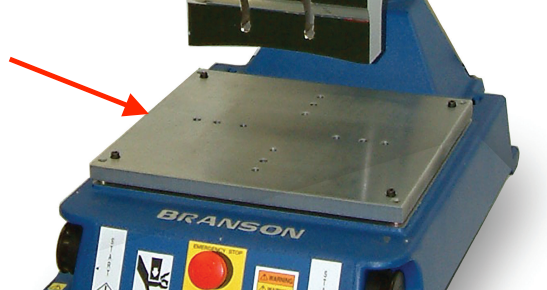
Achieve precise alignment between your horn, part, and fixture with our High-Precision Leveling Plates. Designed for Sonitek® and Branson® presses, these plates allow the fixture to "float" on a central spherical pivot, enabling you to dial in exact parallelism for the highest quality welds and staking results.
Key Benefits
- Precise Alignment: Allows horizontal weld planes to be perfectly squared, ensuring proper presentation for welding or staking.
- Reduced Defects: Eliminates uneven welding by ensuring the horn contacts the part evenly across the entire surface.
- Faster Setup: Speeds up changeovers and simplifies the tooling setup process.
- Heavy Duty Construction: Features hardened steel pivoting balls and high-grade locking hardware.
Available Variants
| Item Number | Model Compatibility |
|---|---|
|
600-2232 (Ref: Branson 101-0630-358) |
Branson Ergo Bases |
| 600-1765 | Vertex Max & Quantum Bases |
| 600-1814 | Vertex Mini Bases |
| 600-0329 | Spectrum 5 & 10 Series Bases |
| 600-0328 | Spectrum 3 Series Bases |
Technical Operation: How it Works
The leveling plate utilizes a 5/16” Ø hardened steel ball on the underside, allowing the plate to articulate in all directions. Each corner is equipped with a dual-screw system:
- Jack Screw (Set Screw): Used to lift and level the plate.
- Locking Screw (Socket Head Cap Screw): Used to lock the plate firmly down against the jack screws once level is achieved.
Standard Leveling Procedure
- Preparation: Set temp controller to room temperature (for heat staking) or standard setup mode. Set dwell time to max (e.g., 99 seconds) to allow time for adjustment.
- Reset: Loosen and back out all 8 screws (4 Locking, 4 Jack) approximately 2-3 turns counter-clockwise.
- Load: Place parts into the nest. This provides a level contact surface for the tooling to engage against.
- Cycle: Cycle the press. Let the sealing die/horn come down and rest against the nest/parts. Ensure the hard stop is not preventing contact.
-
Adjust (The "X" Pattern):
- With a 3/16" Allen wrench, gently turn the Jack Screws (Set Screws) until they engage the lower tooling plate. Tighten in a diagonal "X" pattern.
- Gently bring the Locking Screws (Cap Screws) down the same way. Snug them using the "X" pattern.
- Finalize: At this point, the leveling plate has been trued to the upper tooling. Retract the press.
Critical Note: Maintain loading pressure on the fixture while adjusting screws. Any loss of pressure during adjustment will result in the leveling plate becoming skewed.


